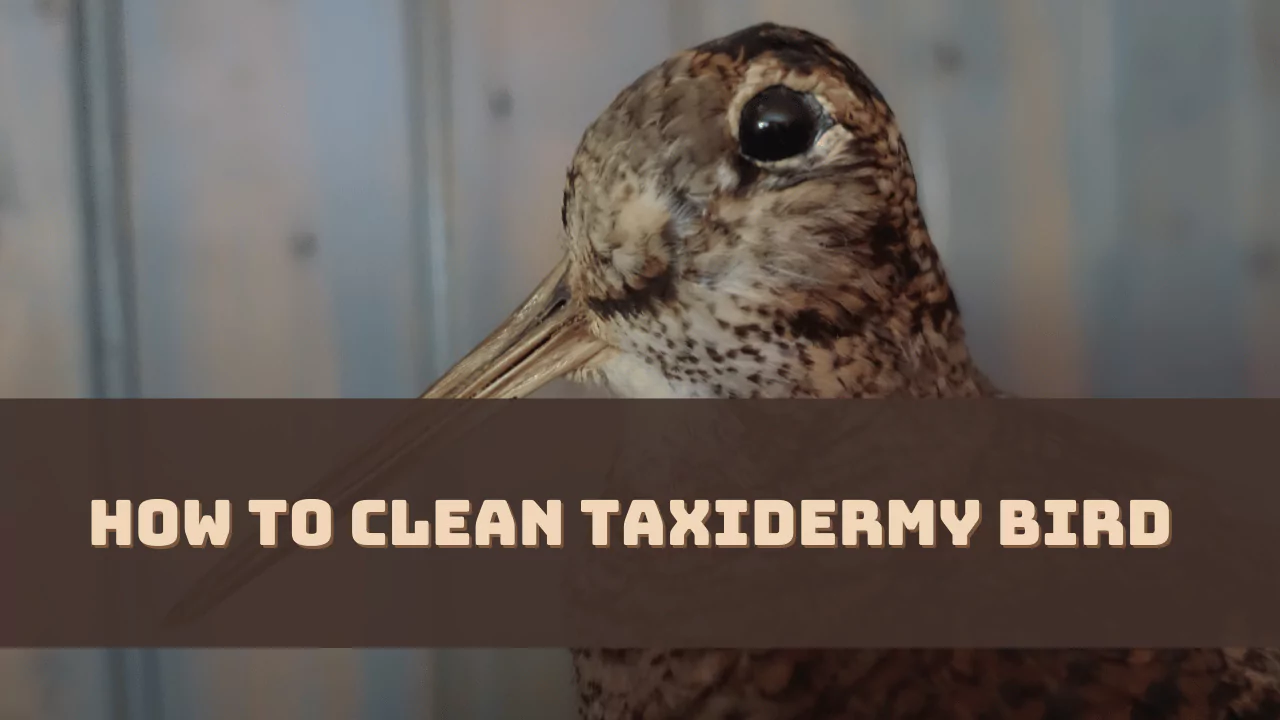
To clean the taxidermy birds, you must take special care and opt for methodological cleaning techniques. First, bring together the materials that are required for cleaning and then place the bird on a flat surface. Scrub the bird’s feather using a toothbrush. Rinse the bird’s feathers with clean water and use a soft cloth to dry the bird. Finally, you have to place the bird back to its display care.
Now, if you are cleaning the taxidermy bird for the first time, then let’s get to the detailed step-by-step process.
Prepare the Tools Required for Cleaning
You must have the right equipment when it comes to cleaning the taxidermy bird. So, here are the tools and supplies that you need.
- Brush – You would find a different variety of brushes with different bristles types which are used for cleaning the hard-to-reach areas on the feather.
- Non-abrasive cloth or sponge – It is used for wiping the surface and always uses soft material like microfiber.
- Mild soap (which does not have harsh chemicals) – It is used to clean the feathers. Alternatively, gentle dish soap can also be used or specialized taxidermy cleaning solution.
- Distilled water – For rinsing the bird it is used so that the contamination does not affect the feathers of the bird during drying.
- Forceps – To handle the delicate parts of the bird, such as eyes and feathers you have to use forceps.
- Gloves – To protect your hands from dirt, soil and wax, gloves are used and gloves would also prevent degradation of taxidermy birds.
After taxidermy cleaning you must store the taxidermy bird in an air-tight container, so that any negative impact does not fall due to environmental exposure. You also have to be careful when cleaning delicate areas such as eyes, and beak as these areas are prone to damage.
You can also consult with a professional who is experienced in avian taxidermy to help you with accurate cleaning methods. There are also many services available from taxidermy experts to help you in this process.
Steps for Cleaning Taxidermy Birds
Here are the different steps you have to carry out based on the process you choose to clean the taxidermy bird:
Prepare the Workspace
When you are beginning to clean the taxidermy bird; it should be done in a suitable workspace to ensure an organized and smooth cleaning process. So, choose the location which has space to lay out all your supplies. There should be good lighting to ensure you see all the details or areas that require special attention. Lay down the bird on a soft surface to protect the delicate parts and always use a clean non-abrasive material or a foam pad. Remove unnecessary items covering the workspace to minimize accidental damage. Also, keep the workspace clean to focus on the cleaning task.
Clean the Dust and Debris
You have to move step by step so that the taxidermy looks fresh and you can eliminate the dust and debris which have been accumulated over the years:
- Use a soft bristle brush to remove the dirt and debris.
- You also have to check while cleaning the feathers of the bird that they do not get damaged.
- You can use a soft cloth to clean the stains or grims and never use any hard chemicals or cleaners as they can affect the specimen.
- Next, consider a vacuum with low pressure to dry up the bird.
Sanitizing the Taxidermy Bird
After you have cleaned the bird, you have to properly sanitize it which involves cleaning disinfection and preserving. This helps to maintain the bird’s appearance for years and also prevents contamination.
- To begin sanitization you have to remove all the visible signs of debris and dust from the feathers of the bird. You can use a soft bristle brush or a compressed air canister.
- Using a mild detergent solution on the feathers, you can proceed with feather cleaning but always use a soft bristle brush before you rinse thoroughly in the water.
- Apply a disinfectant solution which will prevent bacteria and viruses from settling on the bird
- Finally, use a preventive spray solution which will keep the feathers flexible and also prevent contamination of pests.
But, you have to be careful while cleaning as based on the type of bird, a specific cleaning procedure is recommended as every species of bird has unique attributes such as feather density or damage susceptibility.
You also have to regularly inspect the taxidermy bird to prevent damage and preserve its natural beauty. Check for wear and tear and also be careful while you are transporting. Keep it in a dry environment away from direct sunlight.
Cleaning the Feathers
After you have removed the dust and debris and sanitized the taxidermy bird, it’s time to preserve its natural beauty by cleaning the feathers which requires a meticulous approach:
- You have to go through a thorough visual assessment to understand which feathers require replacement and which need cleaning.
- Using a soft bristle brush, you have to lose the dust and debris by brushing them in one direction of the feather’s growth.
- Now, fill a spray bottle with warm water and mix with mild soap. Use this mixture to directly apply on the dirty areas, and when they are dampened, use a microfiber cloth to wipe down each feather.
- Once the cleaning is done, you have to place it in front of a fan to dry the feathers, but not under direct sunlight.
The feathers are very delicate and can get damaged easily, so you need to be very careful during the cleaning process.
Remove the Stains and Discoloration
If you want to restore the beauty of a taxidermy bird, then you have to remove the stains and prevent the skin and feathers from getting discolored. So, you have to be patient and learn the skills to achieve positive results:
- To remove the stains, you have to identify the type of pain or discolouration that is affecting the bird’s skin or feathers.
- You have to gently scrub the affected area using a soft bristle brush or toothbrush.
- You can use a mild soap and a warm water mixture for stain removal, but do not apply too much pressure on the fragile parts of the bird; be very careful.
- You can also use a specialized cleaning solution which is available in the store and is meant for cleaning taxidermy birds. You have to follow the instructions on this cleaning solution very carefully so that the delicate skin and feathers are not yet affected.
- If any soap residues are there, then rinse off with clean water and using a clean towel or cloth, dry the exterior.
Never use any harsh chemicals or scrubbing pads to remove the stains as it would not only harm the feathers and skin but also remove the paint from the surface. If you want to prevent the chances of future staining, then keep it in a closed-air cabinet with laminate doors. This would keep sunlight away along with preventing moisture sources.
If the stains are persistent and even after you have applied the stain removal methods, it stays, then you have to opt for expert help and get a restoration procedure.
Detailing the Bird
When you are trying to preserve the bird you have to go through the detailing process which involves cleaning and maintaining the eyes, beaks and feet of the taxidermy birds.
- You have to use compressed air or a soft bristle brush to remove the debris from the feather.
- Clean the beak and eye using a mixture of soap and water. You can also use a cotton swab or brush to apply the mixture.
- Next, use rubbing alcohol to wash the feet and oil-free conditioner on feather fiber. This would prevent them from becoming brittle.
Along with this, do not forget every bird has a specific requirement, so if you are cleaning the sharp talons, you have to pay extra attention.
Personal Safety
You must maintain precautions while you are handling the taxidermy bird which would ensure that both the handler and the specimen are safe and protected. So, while you are working on these preserved animals, you must use –
- Gloves made of latex or nitrile to handle the bird and do not touch any chemicals with your bare hand; otherwise it can trigger an allergic reaction or irritation.
- Wear goggles or face shields to prevent the chemicals or dust from entering the eye. Also, if the sharp beak and claws break suddenly, there won’t be any accidental contact.
- A breathing mask is necessary as the taxidermy birds are full of allergens, bacteria and fungi which can result in your health risk.
- A dust mask would protect you from respiratory irritants and maintain a clean air supply. A lab coat should be worn while handling preserved birds to prevent contamination.
It has been reported that bird flu can survive for more than 24 hours even after the death of the bird. So, you must maintain all the precautions and use protection coverage while handling the bird.
How Often Should You Clean the Taxidermy Bird?
It is usually recommended to clean the taxidermy bird once a year, or twice, based on its exposure to dust and debris accumulation.
Where Should You Store The Taxidermy Bird?
After you have cleaned the taxidermy bird, store it in a completely dry and cool place away from direct sunlight.
How to Reassemble a Taxidermy Bird?
A taxidermist starts by skinning the animal and then preserving the hide. So, first, you have to remove the meat from the bones, clean the skeleton and then mount a wire frame covered with the preserved hide. Finally, the bird’s feathers are added to create a real-like appearance.
How Does the Eyes of a Taxidermy Bird Preserve?
A taxidermist replaces the original eye of the bird with a glass or acrylic replica and then recreates the tiniest details, including pupil dilation and iris pattern to preserve the real-like bird’s eye.


